- Empty cart.
- Continue Shopping

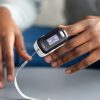
Maintaining a healthy blood pressure is essential for overall well-being. Regular monitoring at home can be a crucial part of managing your cardiovascular health. We’ll walk you through the process of using a blood pressure monitor accurately and effectively.
Step 1: Gather the Necessary Equipment
Ensure you have the following items ready:
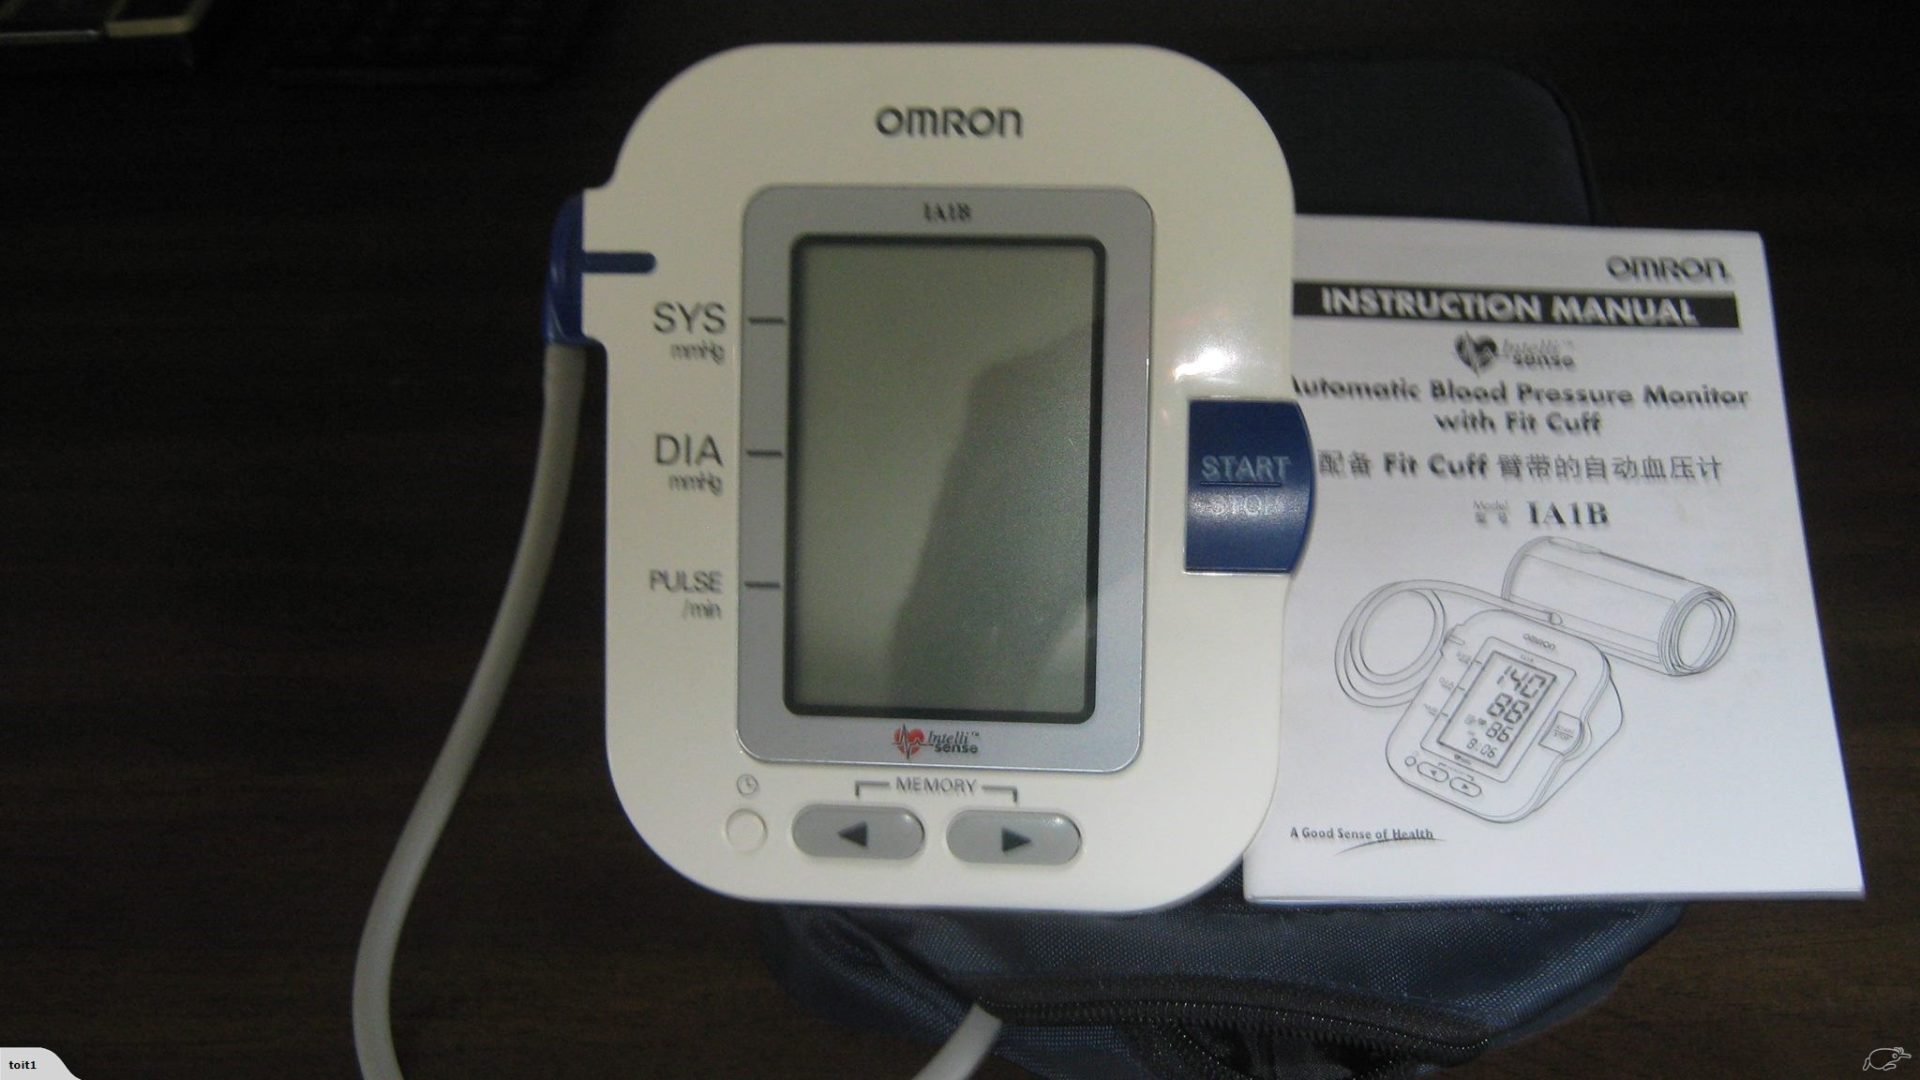
- A digital blood pressure monitor
- A comfortable chair with a backrest
- A quiet environment free from distractions
- A notepad and pen (optional, for recording readings)
Step 2: Prepare Yourself
- Rest for at least 5 minutes before taking your blood pressure.
- Sit in a comfortable chair with your feet flat on the floor. Your back should be supported, and your arm should rest at heart level.
- Remove tight clothing from your arm where the cuff will be placed.
Step 3: Position the Cuff
- Slide your arm through the cuff, aligning the lower edge of the cuff about an inch above the elbow.
- The cuff should be snug but not too tight. You should be able to slide two fingertips under the cuff.
Step 4: Proper Placement of the Stethoscope
- If using a manual monitor with a stethoscope, locate the pulse point on the inner side of your elbow (brachial artery).
- Place the stethoscope over this point and ensure it’s positioned correctly.
Step 5: Start the Measurement
- Press the start button on the digital monitor.
- The cuff will inflate, gradually tightening around your arm. Remain still and refrain from talking during the measurement.
Step 6: Record the Measurements
- Take note of both the systolic pressure (the higher number) and the diastolic pressure (the lower number).
- The systolic pressure reflects the force of blood against the artery walls when the heart beats. The diastolic pressure represents the pressure when the heart rests between beats.
Step 7: Interpret the Results
- A normal blood pressure reading is typically around 120/80 mm Hg.
- Elevated blood pressure ranges between 120-129 (systolic) and less than 80 (diastolic).
- Hypertension stage 1 is 130-139 (systolic) or 80-89 (diastolic).
- Hypertension stage 2 is 140 or higher (systolic) or 90 or higher (diastolic).
Step 8: Understand the Readings
- Consult your healthcare provider if you consistently obtain readings outside the normal range.
- Keep a record of your readings to share with your healthcare professional during check-ups.
Step 9: Troubleshooting
- If you receive an error message or irregular readings, ensure the cuff is properly positioned and snug but not too tight.
- Check the batteries if using a digital monitor.
Step 10: Maintenance and Calibration
- Follow the manufacturer’s guidelines for cleaning and maintaining your blood pressure monitor.
- Have your monitor calibrated or checked for accuracy periodically.
In conclusion, using a blood pressure monitor at home empowers you to take an active role in managing your cardiovascular health. By following these steps carefully, you can obtain accurate readings and track any changes over time. Remember, if you have any concerns about your blood pressure readings or overall health, consult with your healthcare provider for guidance and support.