- Empty cart.
- Continue Shopping
How to Check for Skin Cancer at Home

Skin cancer is one of the most common forms of cancer, and early detection is key to successful treatment. Regular self-examinations of your skin can help you spot potential skin cancer warning signs at an early stage. While self-checks should not replace professional medical evaluations, they are a valuable part of maintaining your skin health.
Step 1: Find a Well-Lit Room and a Full-Length Mirror
Begin your skin self-exam by selecting a well-lit room with plenty of natural light or good artificial lighting. A full-length mirror will be helpful to inspect your entire body.
Step 2: Gather Necessary Tools
You’ll need the following items for your self-exam:
- Hand mirror: This will help you check areas that are hard to see with a standard mirror, like your back and the back of your neck.
- Stool or chair: A sturdy stool or chair can help you reach and examine different parts of your body more effectively.
Step 3: Start with a Head-to-Toe Inspection
Begin at the top of your body and work your way down. Examine your face, ears, neck, chest, abdomen, arms, hands, fingers, genitals, legs, feet, and toes.
Step 4: Use the ABCDE Rule
While inspecting your skin, use the ABCDE rule as a guide for identifying potential skin cancer warning signs:
- A: Asymmetry – Check if one half of the mole or spot looks different from the other half.
- B: Border – Examine the edges of moles and spots. Irregular, jagged, or poorly defined borders may be a sign of skin cancer.
- C: Color – Look for moles or spots that have multiple colors or unusual colors, such as red, white, or blue.
- D: Diameter – Measure the size of moles or spots. Anything larger than a pencil eraser (about 6mm or 1/4 inch) should be examined by a healthcare professional.
- E: Evolution – Pay attention to any changes in size, shape, color, or symptoms of moles or spots. New growths or changes in existing ones should be evaluated.
Step 5: Check for Suspicious Moles or Spots
During your self-exam, be on the lookout for:
- Moles that are asymmetrical, have irregular borders, or uneven color.
- Moles larger than 6mm (about the size of a pencil eraser).
- Moles or spots that change in size, shape, color, or elevation.
- Any spot or mole that is itchy, painful, or bleeds.
Step 6: Examine Your Scalp and Hair
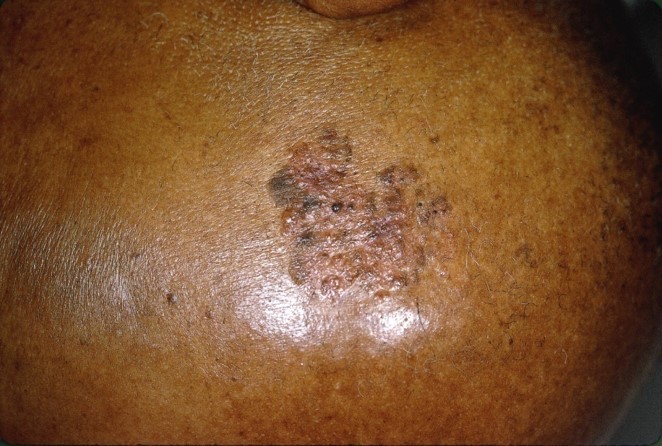
Use a comb to part your hair and inspect your scalp. Look for any unusual moles, spots, or lesions.
Step 7: Don’t Forget Your Nails
Examine your fingernails and toenails, including the nail beds and the skin around the nails. Pay attention to any unusual pigmentation, streaks, or changes in the nails.
Step 8: Document Findings
If you discover any moles or spots that raise concerns, take note of their location, size, color, and any changes you’ve observed. This documentation can be helpful when discussing your findings with a healthcare professional.
Step 9: Schedule a Dermatologist Appointment
While self-examinations are an essential part of skin cancer detection, they should be complemented with regular professional skin exams by a dermatologist. If you notice any suspicious moles or spots or experience any changes in your skin, make an appointment with a dermatologist for a thorough evaluation.
Finally, regular skin self-examinations at home are a proactive way to monitor your skin health and detect potential skin cancer warning signs early. By following the ABCDE rule and being diligent in your examinations, you can help identify any changes in your skin that may warrant further evaluation by a healthcare professional. Remember that early detection is key to successful treatment, so prioritize your skin health with regular self-checks and professional skin exams.


